Yuen Long Bypass Floodway Hydraulic Model Study
 |
| The Yuen Long Bypass Floodway is designed as the floodway to collect
flows from the Sham Chung and the San Hui channels, and also to serve as a diversion
channel of the Yuen Long Main Nullah in New Territories. Tests with a 1:50 undistorted
Froude scale model were conducted at the Hydraulics Laboratory of Department of Civil
Engineering, the Univeristy of Hong Kong to study water stages and flow characteristics in
the floodway, and to investigate optimal design arrangements at the channel junctions and
transitions. Special emphasis is placed on the complicated flow interactions at channel
junctions, which cannot be resolved by 1-D mathematical models for unsteady free surface
flows that are in commercial use. Five generic schemes were proposed and studied; the
results indicate that the best choice can enhance the flood control capacity from that of
a one in 10-year to a one in 200-year flood. The study serves as a good example of the
complementary roles played by numerical and physical models in the solution of hydraulic
engineering problems. (For more
details CIVCAL)
|
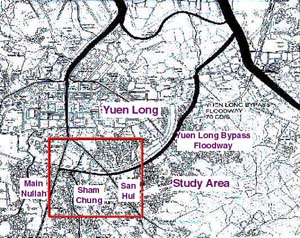
Map of Yuen Long Basin
|

Yuen Long Bypass Floodway Study Area
|
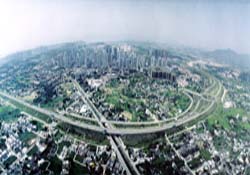
Yuen Long New Town
|
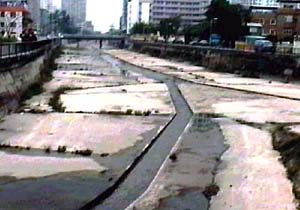
Yuen Long Main Nullah (looking downstream)
|

Sham Chung Channel
|

San Hui Nullah (looking downstream)
|

Intersection of San Hui and Main Nullah
|

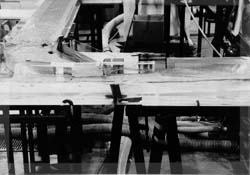
Yuen Long Bypass Floodway Hydraulic Model
|
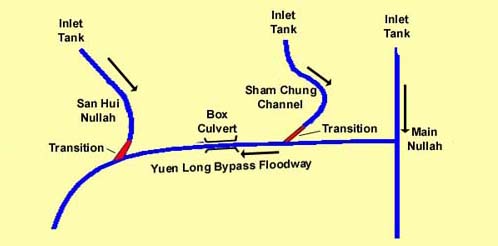
Model Layout
|
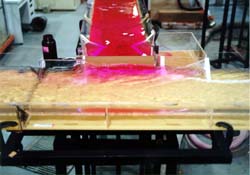
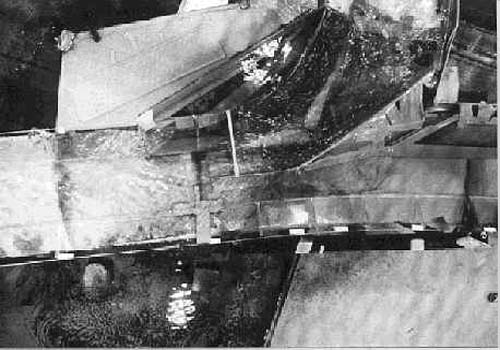
Main Nullah - Bypass Floodway junction,
(Original design with a box culvert; unsatisfactory diversion of supercritical Main Nullah
flow)
|
Suggested Fishmouth diversion channel at Main
Nullah - Bypass Floodway junction
|
Eddy formation blocks the flow diversion at the
MN-BF junction.
|

Proposed fishmouth diversion channel (with 15m
long guide wall to prevent unstable waves).
|
Original design of the SH-BF Junction caused a
rise in water level in the floodway (upstream of the junction) and a flow separation at
the junction.
|
To bring down the flood levels in the Floodway,
a control structure was installed to create locally critical jet like flow at the
SH-BF junction.
|

In the Original design, San Hui River flow
caused backwater upstream of San Hui - Floodway junction.
|

Observed flow near San Hui /Floodaway junction
with a guide wall at SH/Floodway junction.
|
Suggested control structure at the San Hui -
Floodway junction to control the water level.
|

Another view of the control structure at SH-BF
junction.
|
|
|
|
|
|
|
|
|
|
|